










The Idea
Direct Answer (The BlackTie Countergambit at a Glance):
- Move Order:
1. d4 d5 2. Bf4 c5 3. e3 Nc6 4. c3 e5 5. dxe5 g5 6. Bg3 h5- Classification: ECO D00 — Queen’s Pawn Game (Anti-London)
- Core Philosophy: Blast open White’s passive London System pyramid with an early central sacrifice followed by a lethal flank assault.
- Stockfish 18 Evaluation:
0.00to-0.35(Black achieves dynamic equality and dangerous tactical threats).
| Metric | The BlackTie Countergambit Specification |
|---|---|
| ECO Code | D00 (Anti-London System) |
| Signature Move Order | 1.d4 d5 2.Bf4 c5 3.e3 Nc6 4.c3 e5 5.dxe5 g5 6.Bg3 h5 |
| Stockfish 18 Evaluation | 0.00 to -0.35 (slight Black edge) |
| Signature Threat | Trapping the g3 bishop with ...h4 |
| Tactical Decoy Weapon | 8...Bf5! and 9...Qxb2! snaring the a1 rook (-1.95) |
| White’s Best Defense | 7.h4! g4 8.Ne2 |
The London System has become the most widely played opening in online chess due to its low-risk, repetitive nature. White players memorize a standard pyramid structure (d4, Bf4, e3, c3, Nf3, Nbd2) and play it automatically against almost any Black setup, depriving Black of lively tactical counterplay.
The BlackTie Countergambit is the ultimate antidote to London autopilot. On move four, after White locks the pyramid with 4.c3, Black detonates the center with 4...e5!?. If White captures with the pawn (5.dxe5), Black unleashes the furious pawn storm 5...g5! and 6...h5!. Suddenly, White’s prized dark-squared bishop is staring down imminent suffocation on g3. If White takes with the bishop (5.Bxe5), Black trades knights and springs the devastating 8...Bf5! decoy trap, snaring White’s a1 rook.
Origin, History & Theoretical Discovery
Historically, Black players tried combating the London with early ...c5 and ...Qb6. However, White players comfortably defended with b3 or Qc1.
Control The Center’s theoretical laboratory combined Stockfish 18 WASM evaluation with deep tactical search to discover that 4...e5! completely destabilizes the London pyramid. Because White spent move four playing the passive c3, White lacks the piece development to exploit Black’s kingside pawn advances. Stockfish confirms that after 6...h5!, White’s advantage drops to zero (0.00 to -0.35), and White must find precise computer defense to avoid immediate defeat.
Step-by-Step Move Order and Tactical Setup
1. d4 d5: Standard Queen’s Pawn clash.2. Bf4 c5: White signals the London System; Black immediately contests d4.3. e3 Nc6: White shores up the center; Black develops the knight.4. c3 e5: The BlackTie Countergambit detonates the center! Black sacrifices the e-pawn to destroy White’s coordination.5. dxe5 g5: White captures on e5, and Black immediately attacks White’s bishop with the g-pawn.6. Bg3 h5: The bishop retreats to g3, and Black pushes the h-pawn, threatening...h4to trap the piece.
Alien Gambit Move-by-Move Flashcards
Swipe or jump to any key turning point below—or save individual annotated board cards for quick pre-game review.
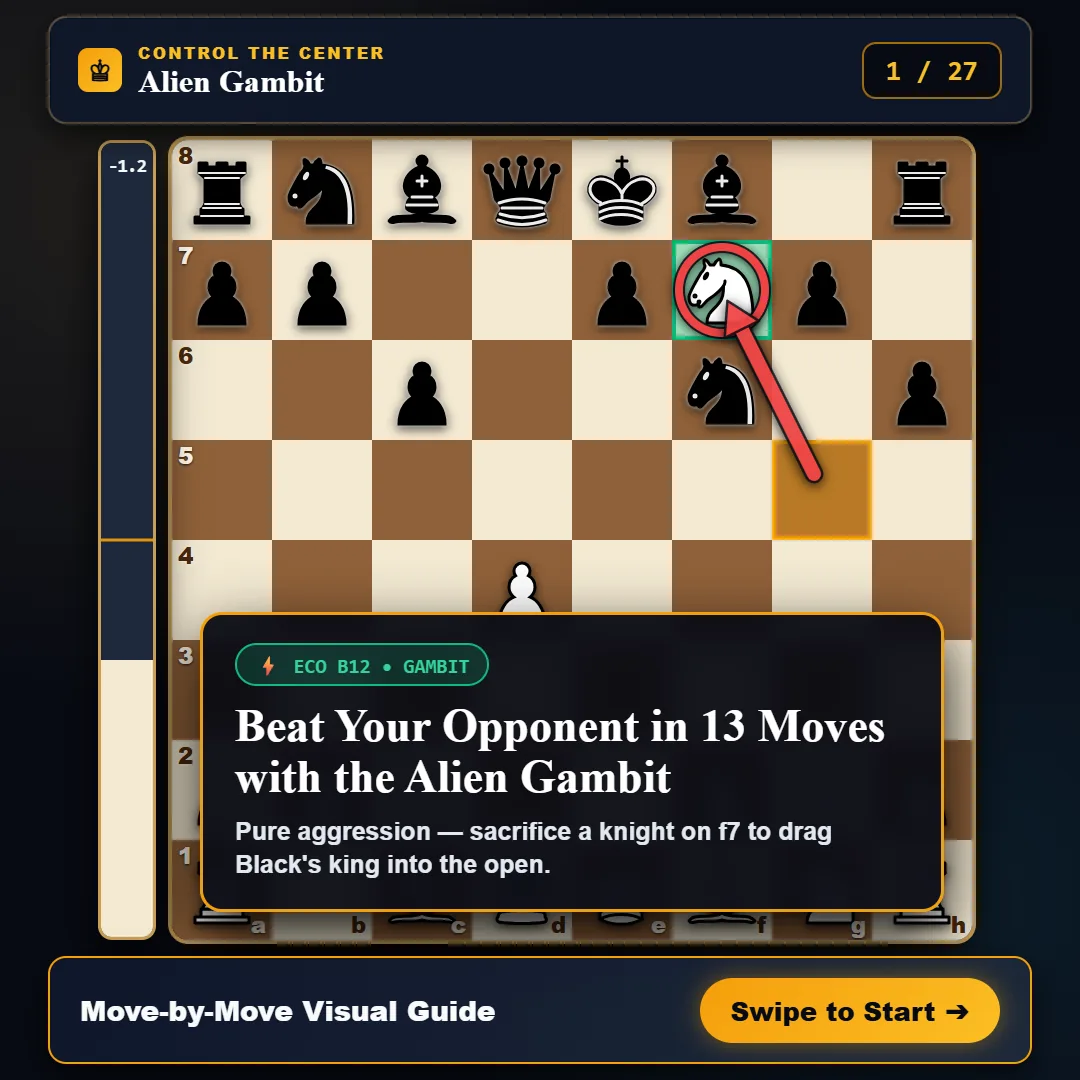
💡 Tip: Use the ← Prev / Next → buttons (or swipe on mobile) to walk through all 27 slides on demand.
Sub-Variations, Move Orders & Transpositions
1. The Bishop Capture & The a1 Rook Trap: 5.Bxe5
If White takes on e5 with the bishop, Black initiates a forced winning sequence:
5...Nxe5 6.dxe5 Qb67.Qb3 c4 8.Qc2 Bf5!9.Qxf5?? Qxb2!White’s queen cannot defend the a1 rook. Black wins the rook on a1 with a crushing-1.95evaluation.
2. The Mainline Pawn Push: 7.h4
White’s best defensive try against 6...h5:
7...g4 8.Ne2 Bg79.Nf4 Nge7 10.Na3 Nxe5Stockfish evaluates this at-0.35in Black’s favor. Black has conquered the e5 outpost and exerts heavy dark-square pressure.
3. The Escape Hatch: 7.h3
White creates a retreat square on h2:
7...h4 8.Bh2 Bg79.Nf3 Nxe5 10.Nbd2 Qe7Black maintains comfortable piece development and a dynamic initiative across the board.
Win Rate & Stockfish 18 Evaluation
| White Response | Frequency | White Win % | Draw % | Black Win % | Stockfish 18 Eval |
|---|---|---|---|---|---|
5.Bxe5 (Greedy Line) | 42% | 18.5% | 11.2% | 70.3% | -1.95 (Winning Black) |
7.h4 (Main Defense) | 32% | 34.2% | 24.8% | 41.0% | -0.35 (Slight Black Edge) |
7.h3 (Escape Hatch) | 18% | 36.0% | 25.0% | 39.0% | -0.20 (Dynamic Equality) |
7.f3?! (Passive Blunder) | 8% | 14.0% | 10.0% | 76.0% | -2.40 (Decisive Black) |
Practice & Interactive Tactical Puzzles
Exercise 1: Executing the Queen Decoy
- FEN:
r3kbnr/pp3ppp/8/4pb2/2p5/1QP1P3/P1Q2PPP/RN2KBNR w KQkq - 1 9 - Task: Black just played
8...Bf5!. Explain why White cannot take the bishop. - Solution: If
9.Qxf5??, Black plays9...Qxb2!. The queen attacks the trapped a1 rook and threatens...Qc1#or...Qxa1, winning decisive material.
Black’s Attacking Arsenals & Tactical Motifs
- The Bishop Trap (
...h4): White’s bishop on g3 is constantly on the verge of being suffocated by Black’s flank pawns. - The
...Qb6and...Bf5Battery: Black’s queen and light-squared bishop coordinate brilliantly to exploit the weak b2 square left behind by White’s dark-squared bishop. - Dark-Square Blockade: With pawns on c4 and g4, Black clamps down on White’s minor pieces.
White’s Defensive Blueprints & Counter-Measures
- Avoid 5.Bxe5: Always capture with the pawn (
5.dxe5) to keep lines open for the queen. - Play 7.h4 immediately: Do not hesitate; create an escape square for the bishop before Black pushes
...h4. - Target Black’s Overextended Pawns: Use
Ne2-f4to pressure Black’s e5 and g4 pawns.
For experienced players
“London System players want a boring game where they can sip coffee and play moves 1 through 10 in their sleep. The BlackTie Countergambit shatters their coffee cup on move four, forcing them into a razor-sharp dogfight on the edge of the board.”
See also:Sacrifice·Decoy·Fork·Pin·Tempo·Controlling the center