
Vote on Drop 002 Ballot — Lock in 32% Off
Control The Center
gambit beginner dubious For black

Englund Gambit

A40 Verified with Stockfish 18

Sacrifice a central pawn on move one to drag 1.d4 players into an 8-move queen-raid checkmate.

Moves: 1. d4 e5 2. dxe5 Nc6
Plain English: 1. White's pawn d2 → d4 1... Black's pawn e7 → e5 2. White's pawn d4 → e5 (takes e5-pawn) 2... Black's knight b8 → c6

Opening

Englund Gambit

Sacrifice a central pawn on move one to drag 1.d4 players into an 8-move queen-raid checkmate.

Starting position
White to move. White: Pawn on a2, Pawn on b2, Pawn on c2, Pawn on d2, Pawn on e2, Pawn on f2, Pawn on g2, Pawn on h2, Rook on a1, Knight on b1, Bishop on c1, Queen on d1, King on e1, Bishop on f1, Knight on g1, Rook on h1. Black: Rook on a8, Knight on b8, Bishop on c8, Queen on d8, King on e8, Bishop on f8, Knight on g8, Rook on h8, Pawn on a7, Pawn on b7, Pawn on c7, Pawn on d7, Pawn on e7, Pawn on f7, Pawn on g7, Pawn on h7.
Up next: 1. d4 · Queen's Pawn Opening
Step 0 / 16
Notation Speak

Starting position — click Next or press → to inspect algebraic notation.

WHAT JUST HAPPENED

Starting position — click Next or press → to step through each move in Plain English.

Opening OverviewStep 0 / 16

Starting Position

Black prepares to ambush 1.d4 with the Englund Gambit.

Move History
Starting position
Collector Triptych PreviewECO A40
Englund Gambit 3-panel collector triptych

Tip: drag pieces directly on the board, use ← → arrow keys, L to switch move language, or F for Focus View

Gambit & Trap Trainer
Move-by-Move Notation & Plain-English Transcript (Englund Gambit) 2 Variations

1. The 8-Move Queen Trap (6.Bc3?? Bb4!)

  1. Start Starting Position

    Black prepares to ambush 1.d4 with the Englund Gambit.

  2. 1. d4 Pawn to d4 Queen's Pawn Opening

    White's pawn moves from d2 to d4.

    White opens 1.d4, often intending a calm London System or Queen's Gambit.

  3. 1... e5!? Pawn to e5 The Englund Gambit (1...e5!?)

    Black's pawn moves from e7 to e5.

    Shock value! Black sacrifices the central e-pawn on move one to rip open lines.

  4. 2. dxe5 d-pawn takes e5 Gambit Accepted

    White's pawn moves from d4 to e5, capturing Black's e5-pawn.

    White captures the free central pawn.

  5. 2... Nc6 Knight to c6 Attacking e5

    Black's knight moves from b8 to c6.

    Black develops the knight with tempo against the e5-pawn.

  6. 3. Nf3 Knight to f3 White Defends e5

    White's knight moves from g1 to f3.

    White develops the king's knight to protect e5.

  7. 3... Qe7 Queen to e7 Doubling Up on e5 (3...Qe7)

    Black's queen moves from d8 to e7.

    Black brings out the queen to add a second attacker against e5 and prepare a fork on b4.

  8. 4. Bf4 Bishop to f4 Natural Defense (4.Bf4)

    White's dark-squared bishop moves from c1 to f4.

    White develops the dark-squared bishop to f4 to guard e5—walking into Black's queen check.

  9. 4... Qb4+! Queen to b4, check The Triple Fork (4...Qb4+!)

    Black's queen moves from e7 to b4, putting the king in check.

    Boom! Black's queen checks the white king while simultaneously attacking the f4-bishop and the undefended b2-pawn!

  10. 5. Bd2?! Bishop to d2 White's Passive Retreat (5.Bd2?!)

    White's dark-squared bishop moves from f4 to d2.

    Thousands of players retreat the bishop to d2 to block the check and save the piece, leaving b2 undefended.

  11. 5... Qxb2 Queen takes b2 Raiding b2 (5...Qxb2)

    Black's queen moves from b4 to b2, capturing White's b2-pawn.

    Black captures the b2-pawn, directly threatening White's trapped rook on a1!

  12. 6. Bc3?? Bishop to c3 The Fatal Trap Move (6.Bc3??)

    White's dark-squared bishop moves from d2 to c3.

    White plays the seemingly brilliant 6.Bc3??—protecting the a1-rook while attacking Black's queen!

  13. 6... Bb4! Bishop to b4 The Crushing Pin (6...Bb4!)

    Black's dark-squared bishop moves from f8 to b4.

    Stunning! Black pins the c3-bishop to the white king! Because the b2-queen also attacks c3, White is completely lost.

  14. 7. Qd2 Queen to d2 Overloaded Queen (7.Qd2)

    White's queen moves from d1 to d2.

    White defends c3 with the queen, forgetting that the queen was also the sole defender of the back rank!

  15. 7... Bxc3 Bishop takes c3 Eliminating the Bishop (7...Bxc3)

    Black's dark-squared bishop moves from b4 to c3, capturing White's c3-bishop.

    Black captures on c3, deflecting White's queen away from guarding c1.

  16. 8. Qxc3 Queen takes c3 White Recaptures (8.Qxc3)

    White's queen moves from d2 to c3, capturing Black's c3-bishop.

    White recaptures with the queen, leaving the first rank unguarded.

  17. 8... Qc1# Queen to c1, checkmate 8-Move Back-Rank Checkmate! (8...Qc1#)

    Black's queen moves from b2 to c1, delivering checkmate.

    Checkmate on move 8! Black's queen slides to c1#, trapping the white king behind its own unmoved pieces.

2. White's Stockfish Refutation (5.Nc3!)

  1. Start Starting Position

    Learn the exact grandmaster move order that traps Black's queen and refutes the Englund Gambit.

  2. 1. d4 Pawn to d4 Queen's Pawn

    White's pawn moves from d2 to d4.

    White opens with the Queen's Pawn to control e5 and c5, aiming for a structured Queen's Gambit or London System setup.

  3. 1... e5 Pawn to e5 Englund Gambit

    Black's pawn moves from e7 to e5.

    Black sacrifices the e-pawn on move one to drag White out of familiar 1.d4 structures into sharp tactical territory.

  4. 2. dxe5 d-pawn takes e5 Accepted

    White's pawn moves from d4 to e5, capturing Black's e5-pawn.

    White accepts the central pawn cleanly, forcing Black to spend moves proving any real compensation exists.

  5. 2... Nc6 Knight to c6 Attacking e5

    Black's knight moves from b8 to c6.

    Black develops the queenside knight toward the center, immediately pressuring White's exposed e5-pawn.

  6. 3. Nf3 Knight to f3 Defending e5

    White's knight moves from g1 to f3.

    White develops a kingside piece while defending the extra e5-pawn, keeping development ahead of Black's queen raid.

  7. 3... Qe7 Queen to e7 Queen Pressure

    Black's queen moves from d8 to e7.

    Black brings the queen out early to pile a second attacker onto e5 and clear the queenside for rapid counterplay.

  8. 4. Bf4 Bishop to f4 Developing Bishop

    White's dark-squared bishop moves from c1 to f4.

    White develops the dark-squared bishop outside the pawn chain to guard e5, inviting the 4...Qb4+ check that White is ready to refute.

  9. 4... Qb4+ Queen to b4, check The Queen Fork

    Black's queen moves from e7 to b4, putting the king in check.

    Black plays 4...Qb4+ attacking e1, f4, and b2.

  10. 5. Nc3! Knight to c3 Step 1: Block with the Knight (5.Nc3!)

    White's knight moves from b1 to c3.

    The critical move! Instead of retreating the bishop with 5.Bd2?!, White develops 5.Nc3!—blocking the check while protecting f4!

  11. 5... Qxb2 Queen takes b2 Black Takes on b2

    Black's queen moves from b4 to b2, capturing White's b2-pawn.

    Black captures 5...Qxb2, attacking the c3-knight.

  12. 6. Bd2! Bishop to d2 Step 2: Solidify c3 (6.Bd2!)

    White's dark-squared bishop moves from f4 to d2.

    Now 6.Bd2! is devastating because the knight is already on c3 and the a1-rook is free to slide to b1!

  13. 6... Bb4 Bishop to b4 Black Pins c3

    Black's dark-squared bishop moves from f8 to b4.

    Black tries 6...Bb4 to pressure c3.

  14. 7. Rb1! Rook to b1 Step 3: Kick the Queen (7.Rb1!)

    White's rook moves from a1 to b1.

    7.Rb1! attacks Black's queen while defending b2/b3.

  15. 7... Qa3 Queen to a3 Only Safe Square

    Black's queen moves from b2 to a3.

    Black's queen is forced to a3.

  16. 8. Nd5! Knight to d5 Step 4: Counter-Attack on b4 & c7 (8.Nd5!)

    White's knight moves from c3 to d5.

    8.Nd5! attacks both the b4-bishop and the c7-pawn (threatening Nxc7+ royal fork). White is completely winning (+2.5)!

Executive Summary (TL;DR)

  • • The Englund Gambit (1.d4 e5!? 2.dxe5 Nc6) is Black's most famous blitz ambush against 1.d4, sacrificing the e5-pawn to Drag Queen's Pawn players out of their comfort zone.
  • • Features the iconic 8-move Stockholm Queen Trap: 3.Nf3 Qe7 4.Bf4 Qb4+! 5.Bd2?! Qxb2 6.Bc3?? Bb4! 7.Qd2 Bxc3 8.Qxc3 Qc1#.
  • • Objectively unsound (+2.15 for White with Stockfish 18) when White plays the precise refutation 4...Qb4+ 5.Nc3! Qxb2 6.Bd2! Bb4 7.Rb1!.
  • • Named after Swedish master Fritz Carl Anton Englund (1871–1933), who sponsored a dedicated thematic tournament in Stockholm in 1932.
  • • Includes dangerous secondary weapons such as the Hartlaub-Charlick Gambit (2...d6!?) and the Zilbermints Gambit (3...Nge7).

The Idea

Direct Answer (Englund Gambit at a Glance):

  • Move Order: 1.d4 e5!? 2.dxe5 Nc6 (ECO A40)
  • Historical Origin: Named after Swedish master Fritz Carl Anton Englund (1871–1933), who organized a thematic tournament on the gambit in Stockholm in 1932; early analysis by Henry Charlick (1890s).
  • The Famous 8-Move Trap: After 3.Nf3 Qe7 4.Bf4 Qb4+!, if White plays 5.Bd2?! Qxb2 6.Bc3??, Black unleashes 6...Bb4! 7.Qd2 Bxc3 8.Qxc3 Qc1# for an instant back-rank checkmate.
  • White’s Stockfish 18 Refutation: White refutes the gambit by blocking with the knight on move 5: 5.Nc3! Qxb2 6.Bd2! Bb4 7.Rb1! Qa3 8.Nd5!, gaining a crushing +2.15 advantage.
MetricEnglund Gambit Specification
Opening ClassificationECO A40 — Queen’s Pawn Game, Englund Gambit
Signature Move Order1.d4 e5!? 2.dxe5 Nc6 3.Nf3 Qe7
Origin & NamesakeFritz Englund (1932 Stockholm Thematic Tournament)
Stockfish 18 Evaluation+2.15 for White (Depth 38 after 4.Bf4 Qb4+ 5.Nc3!)
Human Blitz Win Rate55% Black Wins / 3% Draws / 42% White Wins (800–1500 Elo)
Best White Refutation4.Bf4 Qb4+ 5.Nc3! Qxb2 6.Bd2! Bb4 7.Rb1!

The Englund Gambit (1.d4 e5!?) is Black’s ultimate psychological ambush against 1.d4 players. Most club players who open with 1.d4 prefer strategic, closed structures like the Queen’s Gambit or the London System. By sacrificing the central e-pawn on move one, Black rips the game into open tactical territory before White can build a pawn pyramid.

In the Stockholm Main Line (2.dxe5 Nc6 3.Nf3 Qe7), Black breaks classical opening rules by bringing the queen out on move three to double-attack e5. When White defends the pawn with the natural 4.Bf4, Black springs 4...Qb4+!—a triple fork attacking White’s king on e1, bishop on f4, and pawn on b2 simultaneously.

Variation / BranchMove SequenceStrategic Outcome
💀 8-Move Stockholm Trap4.Bf4 Qb4+ 5.Bd2?! Qxb2 6.Bc3?? Bb4! 7.Qd2 Bxc3 8.Qxc3 Qc1#Checkmate in 8 Moves — Overloaded White queen drops c1#.
🪤 7.Nbd2 Rook Win4.Bf4 Qb4+ 5.Bd2?! Qxb2 6.Bc3?? Bb4! 7.Nbd2 Bxc3 8.Rb1 Qxa2Black Wins Full Piece — White loses the c3 bishop and a2 pawn.
🛡️ 5.Nc3! Refutation4.Bf4 Qb4+ 5.Nc3! Qxb2 6.Bd2! Bb4 7.Rb1! Qa3 8.Nd5!White +2.15 Crush — Black’s queen is hunted while c7 falls.
⚔️ Hartlaub-Charlick Line1.d4 e5 2.dxe5 d6!? 3.exd6 Bxd6 4.Nf3 Nf6Sounder Gambit Play — Rapid minor-piece development for a pawn.

How the 8-Move Englund Gambit Trap Works (6.Bc3?? Bb4!)

Why do hundreds of thousands of online blitz games end in under 10 moves in the Englund Gambit? Because every move White plays up to move 6 looks completely natural:

  1. The Triple Fork (4...Qb4+!): After 1.d4 e5 2.dxe5 Nc6 3.Nf3 Qe7 4.Bf4, Black checks on b4. Since the f4 bishop is attacked, White cannot simply play 5.c3 or 5.Nbd2 without dropping the bishop on f4.
  2. The Passive Retreat (5.Bd2?! Qxb2): White retreats the bishop from f4 to d2, blocking the check and saving the bishop, while allowing Black to capture the b2 pawn and threaten the trapped a1 rook.
  3. The Fatal Illusion (6.Bc3??): Looking to save the a1 rook and attack Black’s queen at the same time, White plays 6.Bc3??.
  4. The Pin & Overload (6...Bb4!): Black refuses to retreat the queen and instead pins the c3 bishop to the white king with 6...Bb4!. Now c3 is attacked twice (by Qb2 and Bb4) and cannot move!
  5. Back-Rank Checkmate (7.Qd2 Bxc3 8.Qxc3 Qc1#): If White defends c3 with 7.Qd2, Black trades 7...Bxc3 8.Qxc3, deflecting the white queen from the first rank, and slides into 8...Qc1# for checkmate!

Alternative Sidelines: Hartlaub-Charlick (2...d6!?) & Felbecker (3...Bc5)

If your opponents know the 5.Nc3! refutation to the 2...Nc6 3...Qe7 queen raid, you can keep the Englund spirit alive with two deceptive sidelines:

1. The Hartlaub-Charlick Gambit (1.d4 e5 2.dxe5 d6!?)

Instead of 2...Nc6, Black immediately offers a second pawn on d6 (2...d6!? 3.exd6 Bxd6). Unlike the 4...Qb4+ line, the Hartlaub-Charlick Gambit has no forced refutation: Black achieves effortless minor-piece mobilization (...Nf6, ...Bg4, ...Nc6, ...Qe7, ...O-O-O) and attacks White’s king directly.

2. The Mosquito / Felbecker Gambit (1.d4 e5 2.dxe5 Bc5!?)

Black develops the dark-squared bishop to c5 on move two, eyeing f2 and preparing 3...d6! 4.exd6 Ne7!, where recapturing on d6 with the queen or knight gives Black dynamic kingside pressure.


How to Refute the Englund Gambit as White (Stockfish 18 Guide)

With Stockfish 18 analysis, refuting the main line Englund Gambit (1.d4 e5 2.dxe5 Nc6 3.Nf3 Qe7 4.Bf4 Qb4+) requires remembering just one key move:

MoveWhite’s AntidoteStrategic PurposeStockfish 18 Eval
Move 55.Nc3! (Key Move)Blocks the check with the knight while defending the f4 bishop.+1.85
Move 66.Bd2!After 5...Qxb2, 6.Bd2! solidly guards c3 and unblocks the a1 rook.+2.00
Move 77.Rb1!Kicks Black’s queen off b2, forcing 7...Qa3.+2.15
Move 88.Nd5!After 6...Bb4 7.Rb1 Qa3, 8.Nd5! attacks both b4 and c7 (Nxc7+).+2.65

What if you already played 5.Bd2?! by mistake and Black took 5...Qxb2? Do not play 6.Bc3??! Instead play 6.Nc3! Bb4 7.Rb1 Qa3 8.Rb3 Qa5 9.a3!, where White safely untangles the queenside and keeps a clear advantage.


⚡ Englund Gambit Practice & Tactical Resources

Test your calculation on both sides of the Englund Gambit:

For experienced players

The Englund Gambit is the ultimate test of whether a 1.d4 player calculates concrete tactics or moves on autopilot. One lazy bishop retreat to d2 followed by Bc3 ends the game on move 8; one accurate knight block (5.Nc3!) leaves Black’s queen stranded in no-man’s-land.

See also:Fork·Pin·Decoy·Sacrifice·Back-Rank Mate

Frequently Asked Questions (Englund Gambit)

What is the Englund Gambit in chess?

The Englund Gambit is an aggressive counter-gambit against the Queen's Pawn Opening defined by the moves 1.d4 e5!? 2.dxe5 Nc6 (ECO A40). Black sacrifices a central pawn on move one to attack e5 and launch an early queen raid with 3...Qe7 and 4...Qb4+.

How does the 8-move checkmate trap work in the Englund Gambit?

After 1.d4 e5 2.dxe5 Nc6 3.Nf3 Qe7 4.Bf4 Qb4+!, if White blocks with 5.Bd2?!, Black captures 5...Qxb2. When White plays the natural-looking 6.Bc3?? to attack the queen and guard a1, Black pins the bishop with 6...Bb4! After 7.Qd2 Bxc3 8.Qxc3, Black delivers back-rank checkmate with 8...Qc1#!

How do you refute the Englund Gambit as White?

White refutes the main line after 1.d4 e5 2.dxe5 Nc6 3.Nf3 Qe7 4.Bf4 Qb4+ by playing 5.Nc3! instead of 5.Bd2?!. After 5...Qxb2 6.Bd2! Bb4 7.Rb1! Qa3 8.Nd5! Bxd2+ 9.Qxd2 Kd8 10.Ng5!, Black's queen is stranded and White holds a crushing +2.5 advantage.

Why is 6.Bc3?? a blunder after 5.Bd2 Qxb2?

In the position after 5.Bd2?! Qxb2, White's queen on d1 is the only piece guarding the c1 square. Playing 6.Bc3?? walks into the pin 6...Bb4!, which forces the removal of the c3 defender and overloads White's queen, allowing 8...Qc1# or winning a full rook.

How can White survive if they already played 5.Bd2?! Qxb2?

If White accidentally played 5.Bd2?! and allowed 5...Qxb2, White must NOT play 6.Bc3??. Instead, White should play 6.Nc3! Bb4 7.Rb1 Qa3 8.Rb3 Qa5 9.a3!, returning the b2-pawn to untangle and retain a playable advantage.

What is the Hartlaub-Charlick Variation of the Englund Gambit?

The Hartlaub-Charlick Gambit (1.d4 e5 2.dxe5 d6!? 3.exd6 Bxd6) avoids the 5.Nc3! refutation of the 2...Nc6 line by sacrificing a full pawn for rapid minor-piece development, similar to a reversed Danish or Blackmar-Diemer Gambit.

Is the Englund Gambit good for blitz and bullet chess?

While objectively busted in classical tournament play against prepared opponents, the Englund Gambit scores over 56% wins in online blitz and bullet below 1600 Elo because 1.d4 system players (especially London System players) frequently pre-move 3.Nf3 and 4.Bf4 and fall straight into 4...Qb4+.

60 Verified Puzzles Free Interactive Pack

Master Englund Gambit Tactics & Calculations

Drill 60 curated Englund Gambit traps, critical tactical forks, and middlegame sacrifices with instant Stockfish board evaluation and refutations.

Solve 60 Englund Gambit Puzzles

Famous Games

Club Player vs Fritz Englund

Stockholm Exhibition, 1932

The textbook 8-move Stockholm trap in action: White plays the natural 5.Bd2?! and 6.Bc3??, walking directly into 6...Bb4! and 8...Qc1#.

PGN Game Record for Club Player vs Fritz Englund
[Event "Stockholm Exhibition"]
[Site "Stockholm SWE"]
[Date "1932.??.??"]
[White "Amateur"]
[Black "Englund, Fritz"]
[Result "0-1"]
[ECO "A40"]

1. d4 e5 2. dxe5 Nc6 3. Nf3 Qe7 4. Bf4 Qb4+ 5. Bd2 Qxb2 6. Bc3 Bb4 7. Qd2 Bxc3 8. Qxc3 Qc1# 0-1
Graffiti Spray Can Aerosol Badge Control The Center Collector Studio • ECO A40 (d4 e5 dxe5 Nc6)

Collect the Englund Gambit Generative Art & Tournament Gear

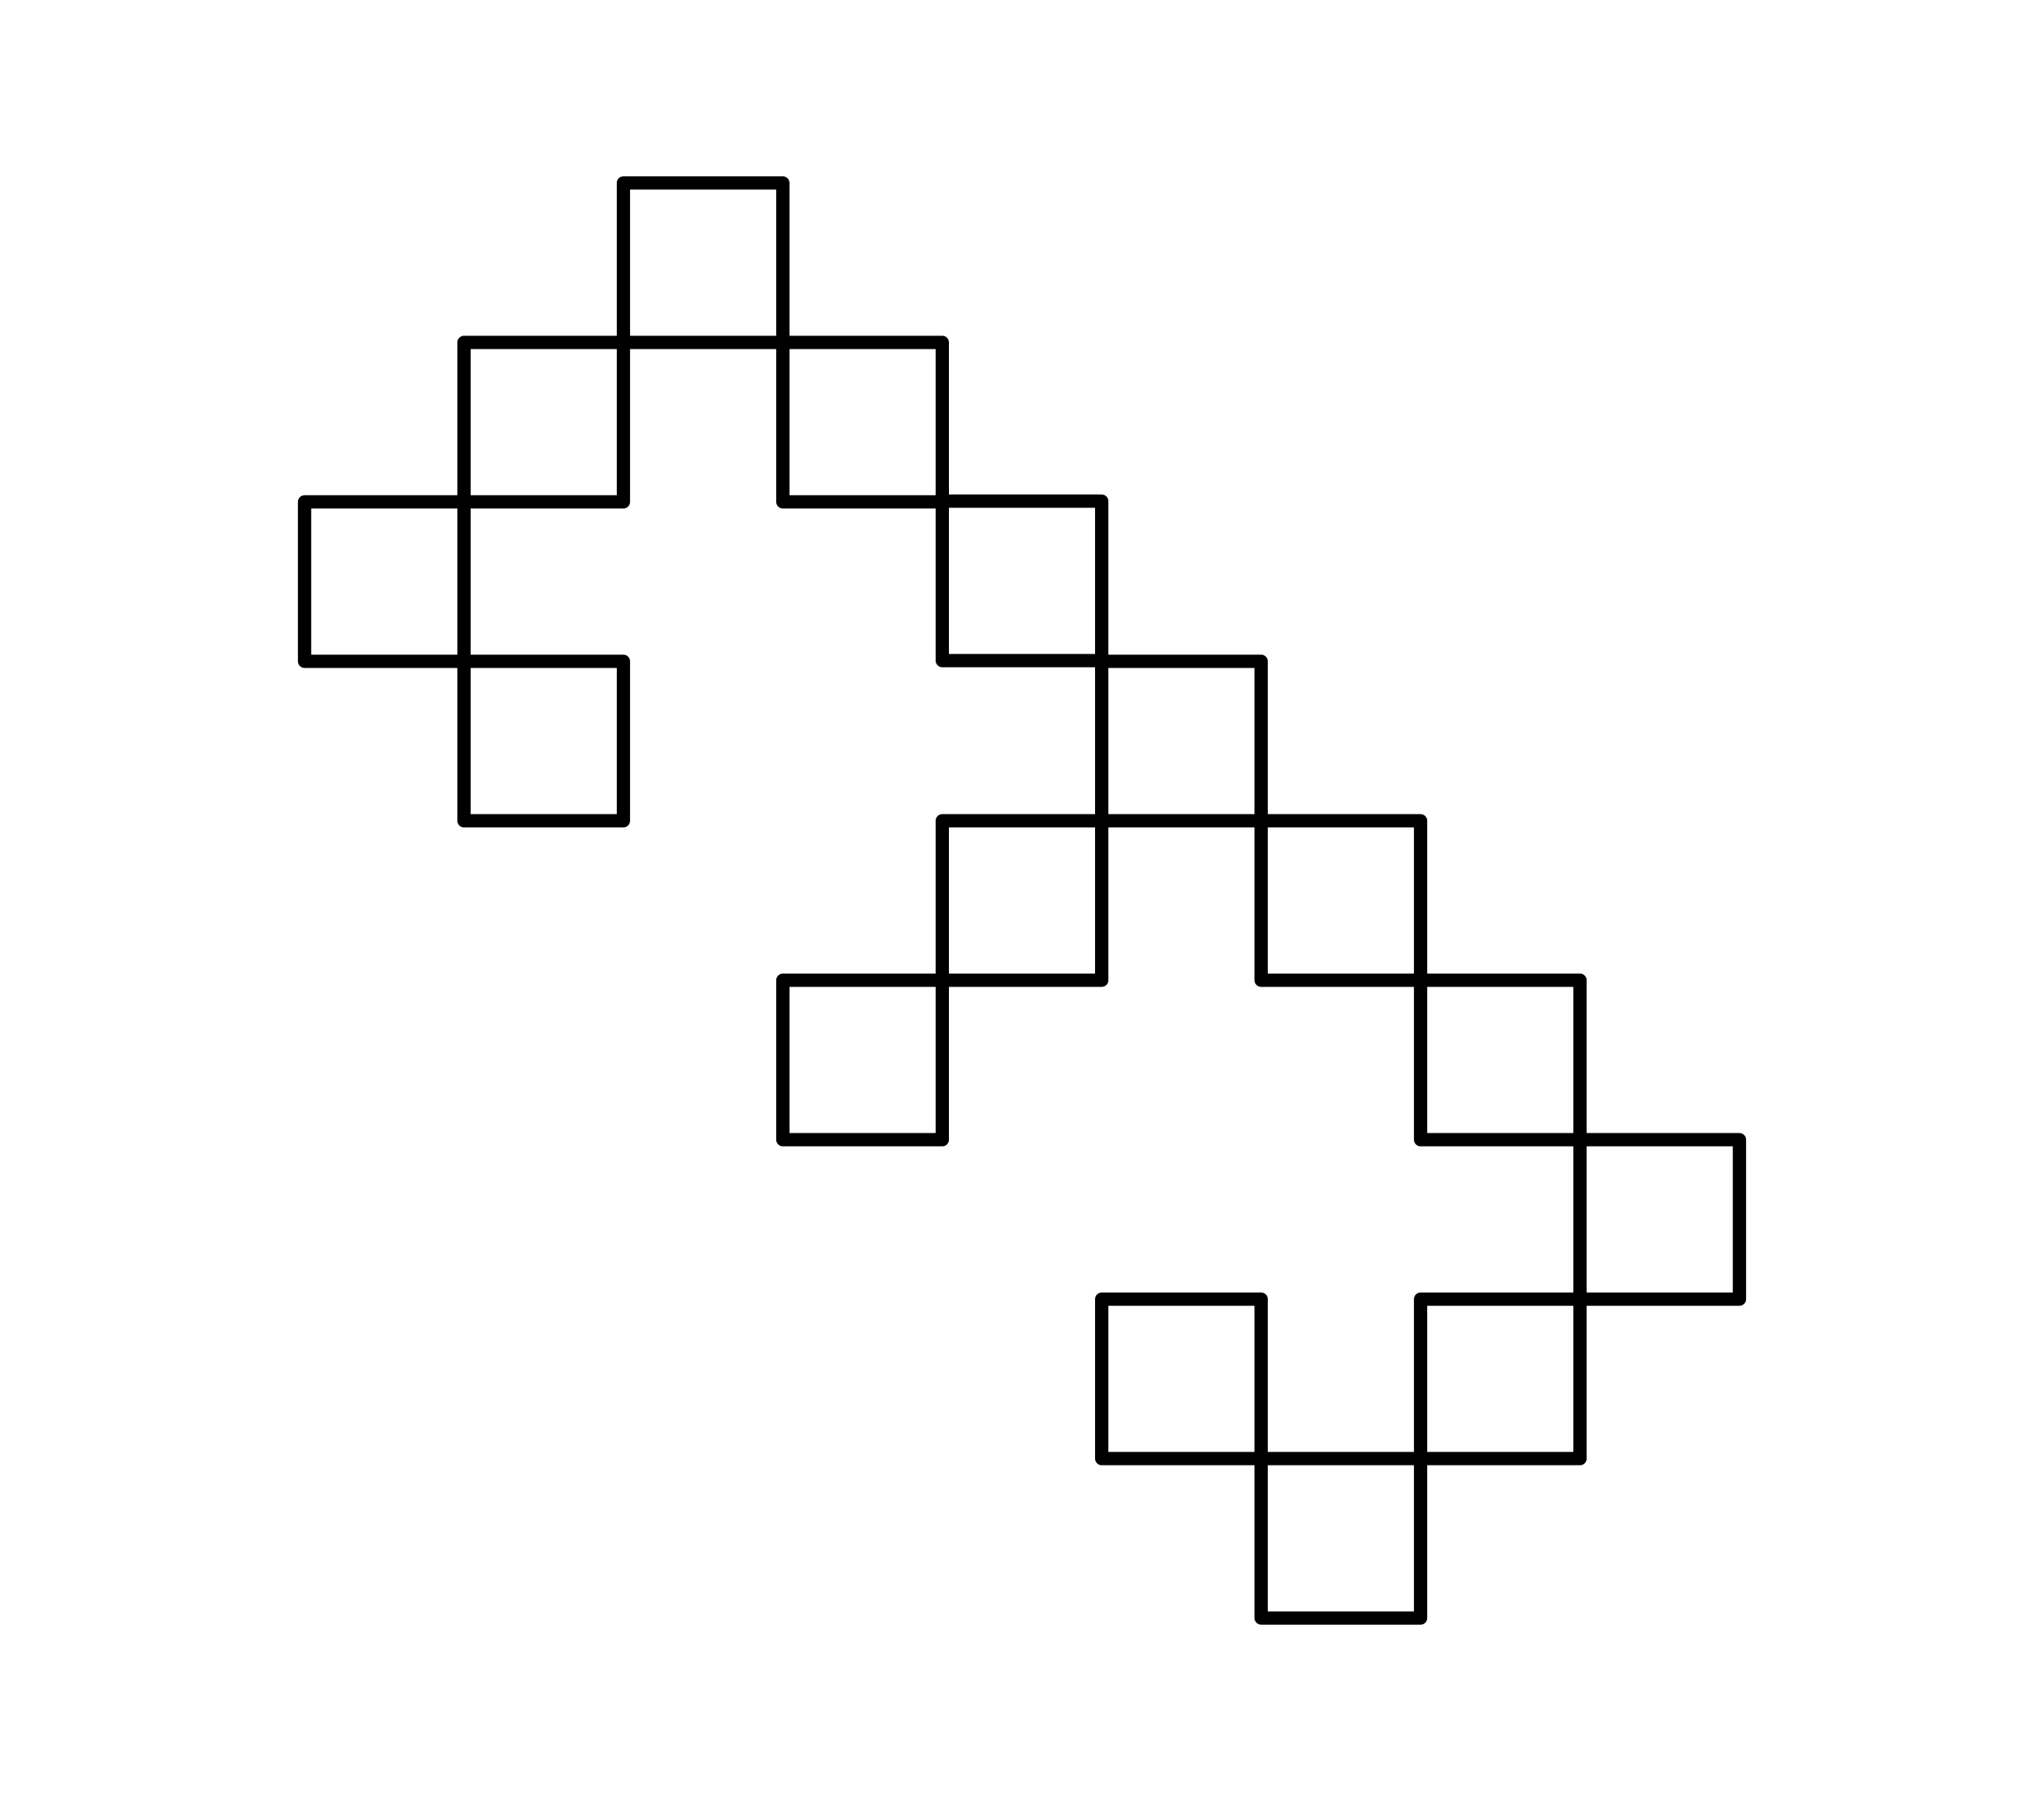
Every move of the Englund Gambit generates a unique geometric vector signature. Explore museum-grade chess canvas prints, heavyweight repertoire streetwear, and USCF-regulation 2.25″ silicone study boards at ControlTheCenter.com.

Google Preferred Source

Follow Englund Gambit & Opening Theory on Google

Add Control The Center as a preferred source on Google to see our interactive opening guides, Stockfish analysis, and tactical puzzles highlighted in Google Search.